Use this guide for a complete first workflow in the current editor.
1. Understand the current workspace
EditPolygon now combines a focused map editor with a broader browser GIS workspace. The interface is easiest to understand as four persistent areas plus one optional Advanced GIS workspace.
Open and save projects, undo or redo edits, fit the map, search for a place, choose an export scope and format, and open project utilities under More.
Select, draw, edit polygons, add images, measure, annotate and open the command palette. Selecting a tool opens the controls needed for that task.
The left sidebar lists imported data and editable layers. The map is where you select and directly edit geometry.
The right panel describes the active feature and exposes feature-specific editing such as Geometry code, style, holes and exact values.
Advanced GIS is a second workspace for unified layer management, local and remote data sources, basemaps and project-level GIS controls. The Data/GIS window then provides Attributes, Select, Filter, Style & labels, Fields & stats, Join & summarize, CRS and Processing.
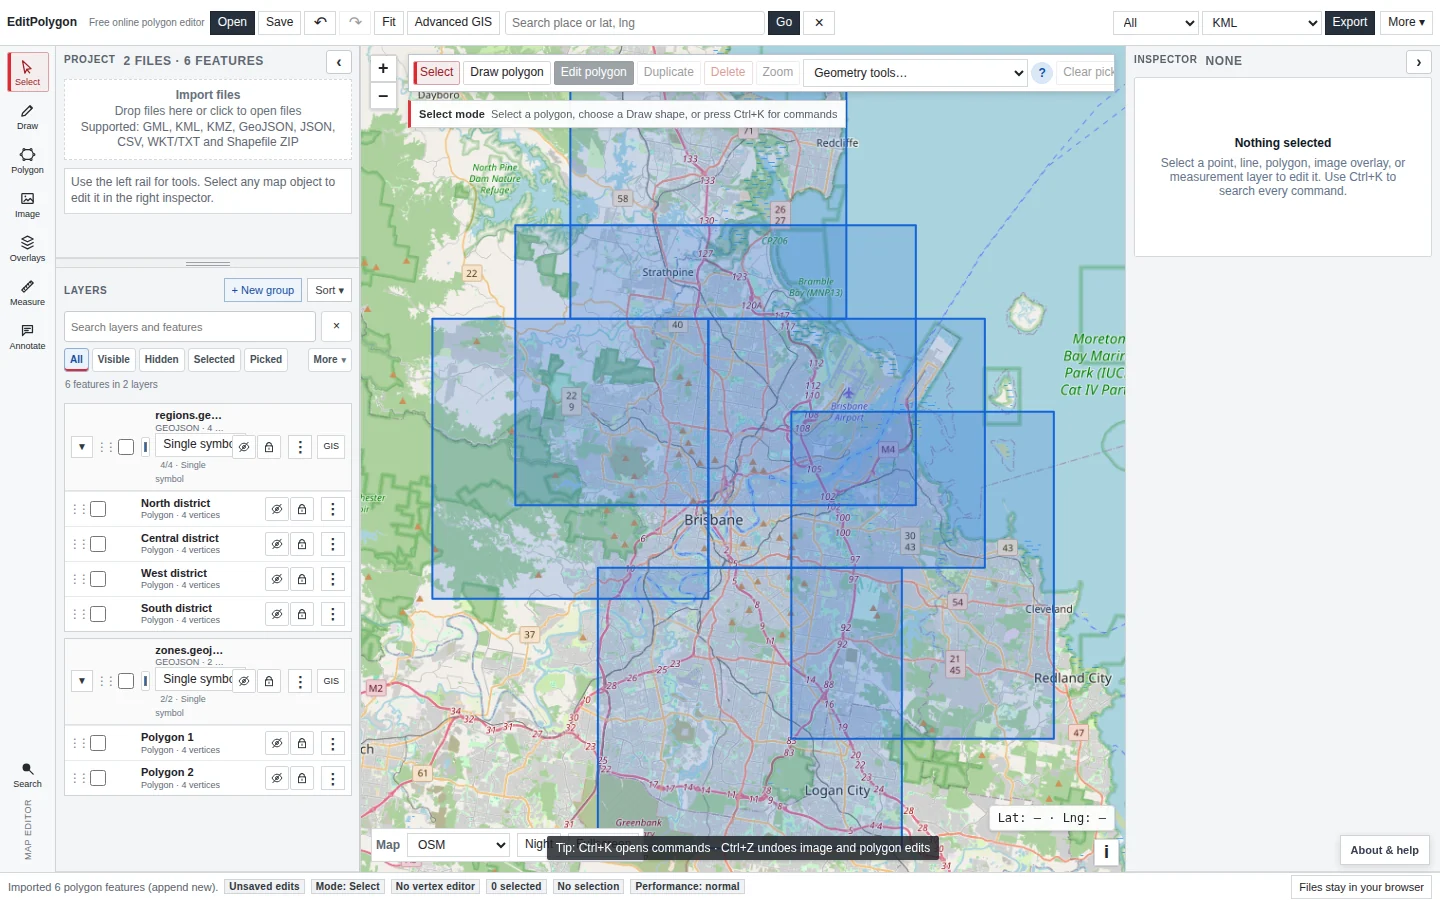
Use direct map tools when you are changing one feature interactively. Use the Data/GIS workspace for records, schemas, filters, styling, joins and CRS. Use Processing when an operation should run consistently across a layer scope.
2. Open a local GIS dataset
- Choose Open.
You can also drop files into the Project area or choose Advanced GIS → Add data → Open GIS files.
- Select the source file or package.
EditPolygon supports common browser-readable vector formats including GeoJSON/JSON, KML/KMZ, GML, GeoPackage, TopoJSON, CSV, WKT/TXT, zipped Shapefile, zipped File Geodatabase and EditPolygon
.epzprojects. - Keep multipart formats packaged.
For a Shapefile, open the ZIP containing the
.shp,.dbf,.shxand preferably.prj. For an Esri File Geodatabase, ZIP the complete.gdbdirectory rather than selecting an individual internal file. - Review the import.
EditPolygon scans the selected files first and opens Review import. Check the files, feature counts and any reported errors, then choose Import to add the reviewed data to the project.
- Confirm the new layer.
Use Fit if necessary, then check the layer name, feature count and map position before editing.
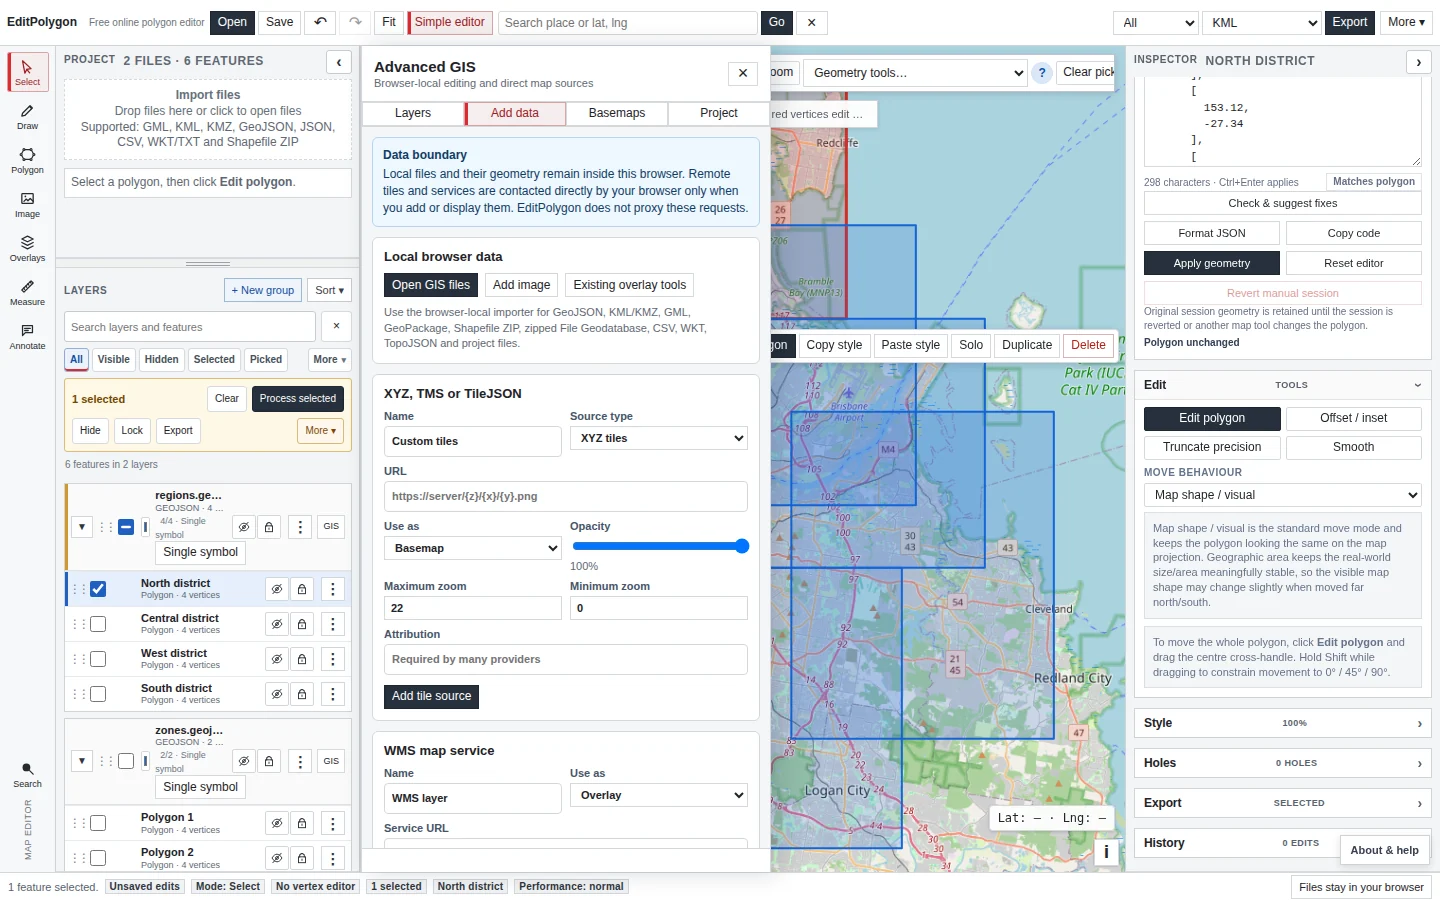
See Open and import GIS data for format-specific rules and troubleshooting.
3. Select the features you actually intend to work with
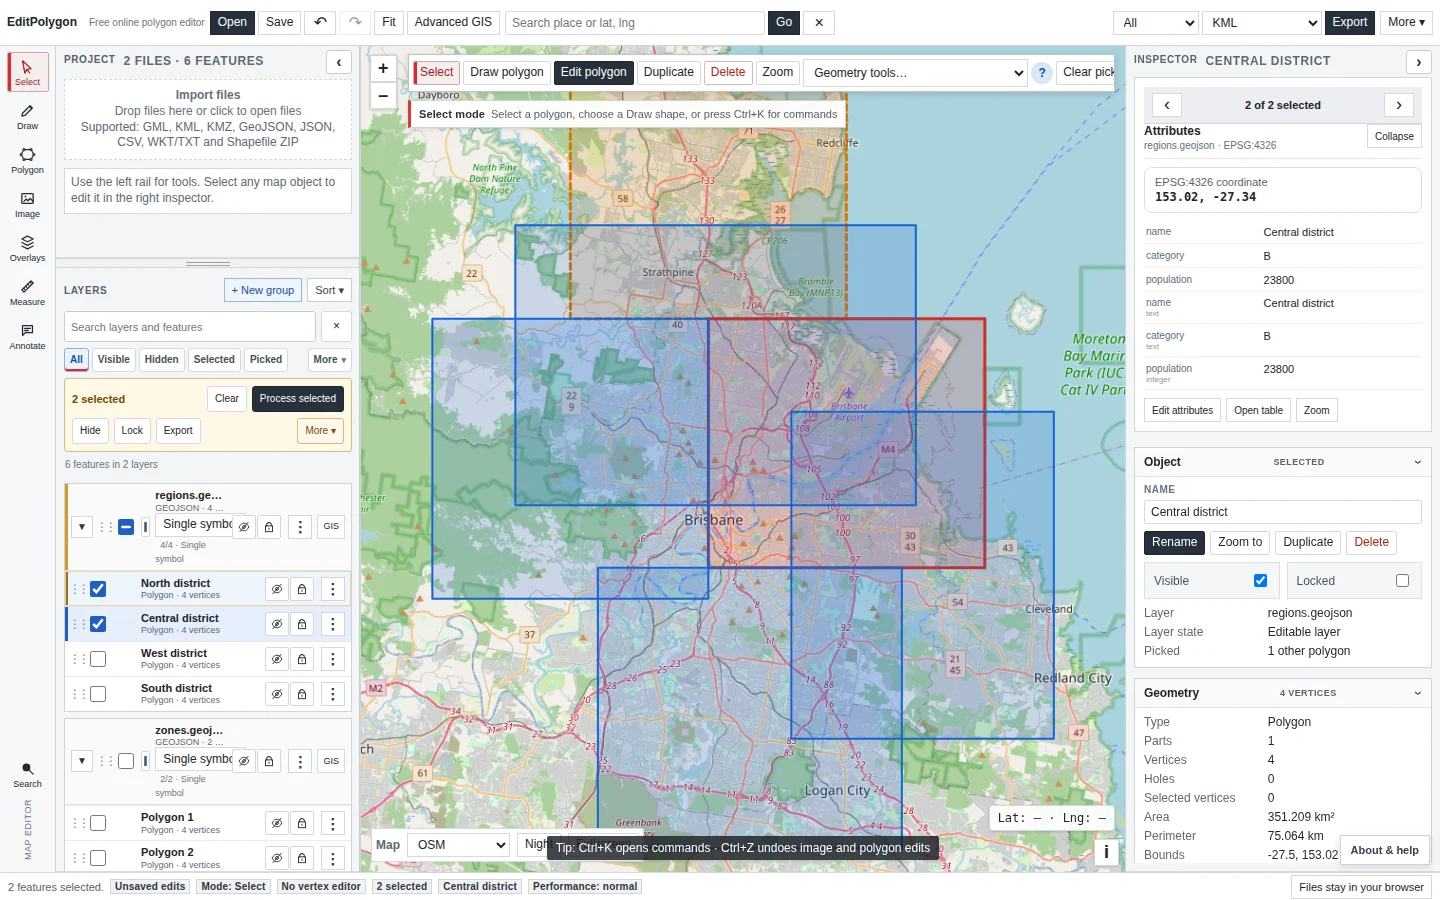
Click selection is only one option. The Select tool also provides rectangle, polygon and lasso selection, a target-layer setting, and Replace/Add/Remove/Intersect selection modes. You can also open Select by attribute or Select by location for query-driven selection.
Selection is independent from visibility and filtering. A hidden feature is not automatically filtered out, and a filtered feature is not automatically selected. That separation becomes important when you use Processing.
4. Draw or directly edit geometry
The Draw tool can create free polygons, points, rectangles and squares, true circles, rotated rectangles, regular polygons, freehand polygons and buffer corridors. You can also add a polygon from pasted coordinates.
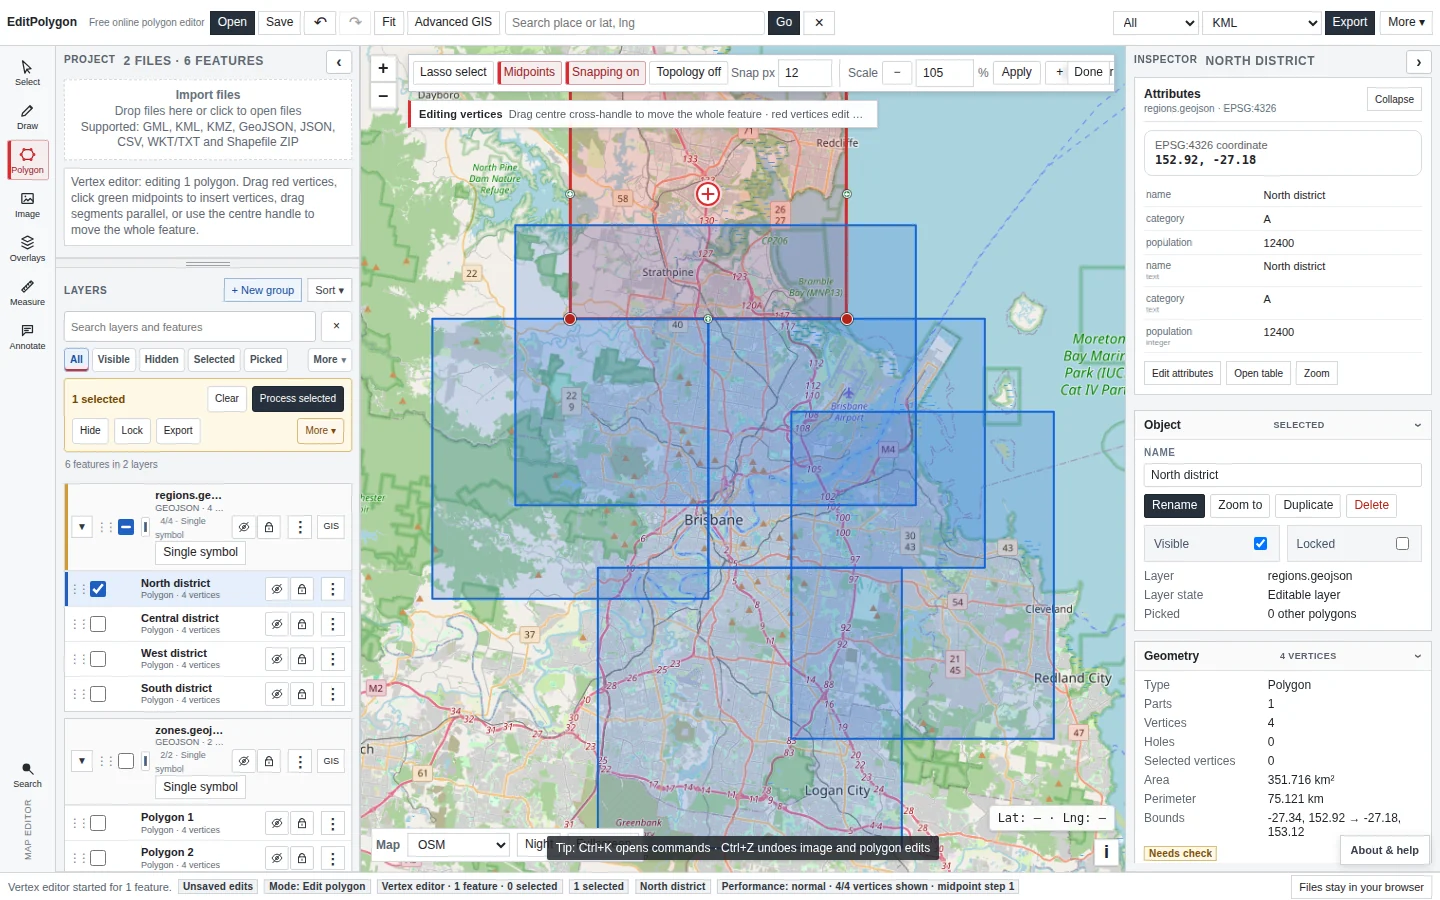
For an existing polygon, choose Edit polygon and drag vertices. Midpoint handles insert new vertices. Snapping aligns nearby coordinates; topology mode can move coincident vertices in other visible editable polygons when you deliberately want shared boundaries to move together.
Geometry code
The Inspector's Geometry code section exposes the selected feature's geometry in editable GeoJSON form. It supports point, line and polygon families, including multipart geometry. Use it when direct coordinate replacement is clearer than dragging handles; apply only after the geometry type and coordinate nesting are correct.
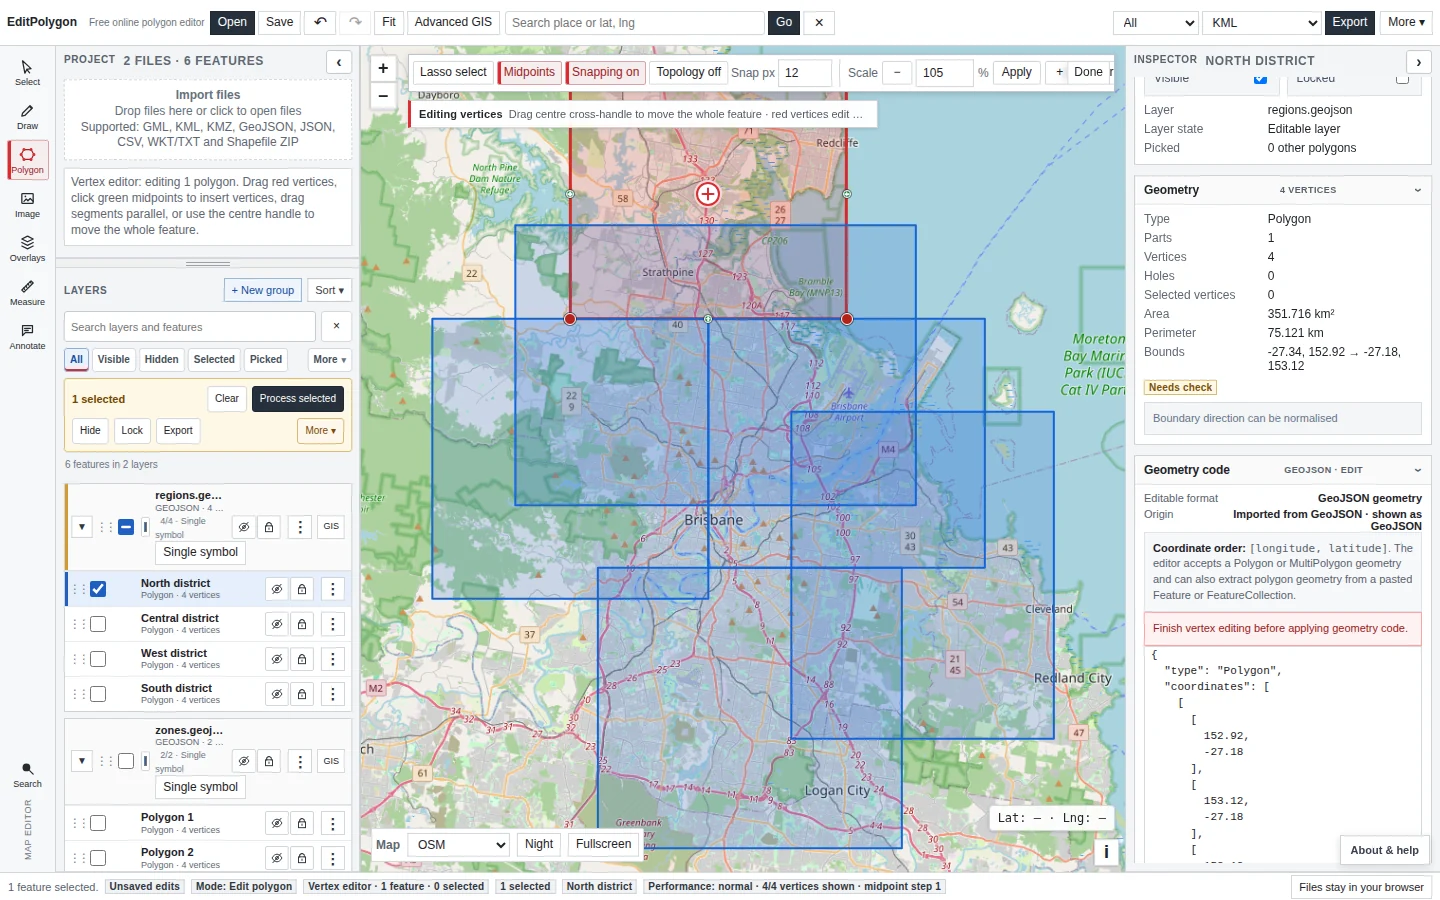
See Draw and edit geometry for the complete direct-editing workflow.
5. Use the Data/GIS workspace for records and layer configuration
Open the Data/GIS window for an editable layer when the task is about the layer as a dataset rather than one map feature. Its tabs divide responsibilities cleanly:
Edit typed values, add or change fields, run field calculations and inspect statistics.
Build repeatable attribute or spatial selections and compound filters.
Control layer presentation without changing geometry.
Relate tables or locations, inspect coordinate-reference metadata and control reprojection/export.
See Attributes, fields, filters and tables for record editing and Spatial joins and location queries for relationships between layers.
6. Use Processing for repeatable GIS operations
The Processing tab contains the layer-wide vector toolkit: buffers, centroids, overlay operations, dissolve, geometry conversion, spatial analysis, selection tools and geometry maintenance.
- Choose the tool.
The catalogue is grouped by Vector geometry, Overlay, Aggregation, Geometry conversion, Selection, Spatial analysis and Geometry maintenance.
- Choose each input layer and scope.
Where supported, All, Filtered and Selected are explicit Processing scopes. Layer visibility does not change Processing membership.
- Preview before committing when useful.
Geometry tools can show a temporary map preview, selection tools highlight prospective matches, and data-result tools can preview prospective attributes. Preview does not create a project layer.
- Run the operation.
Most tools create a new layer. Maintenance tools that support it can instead modify the source in one undoable project operation.
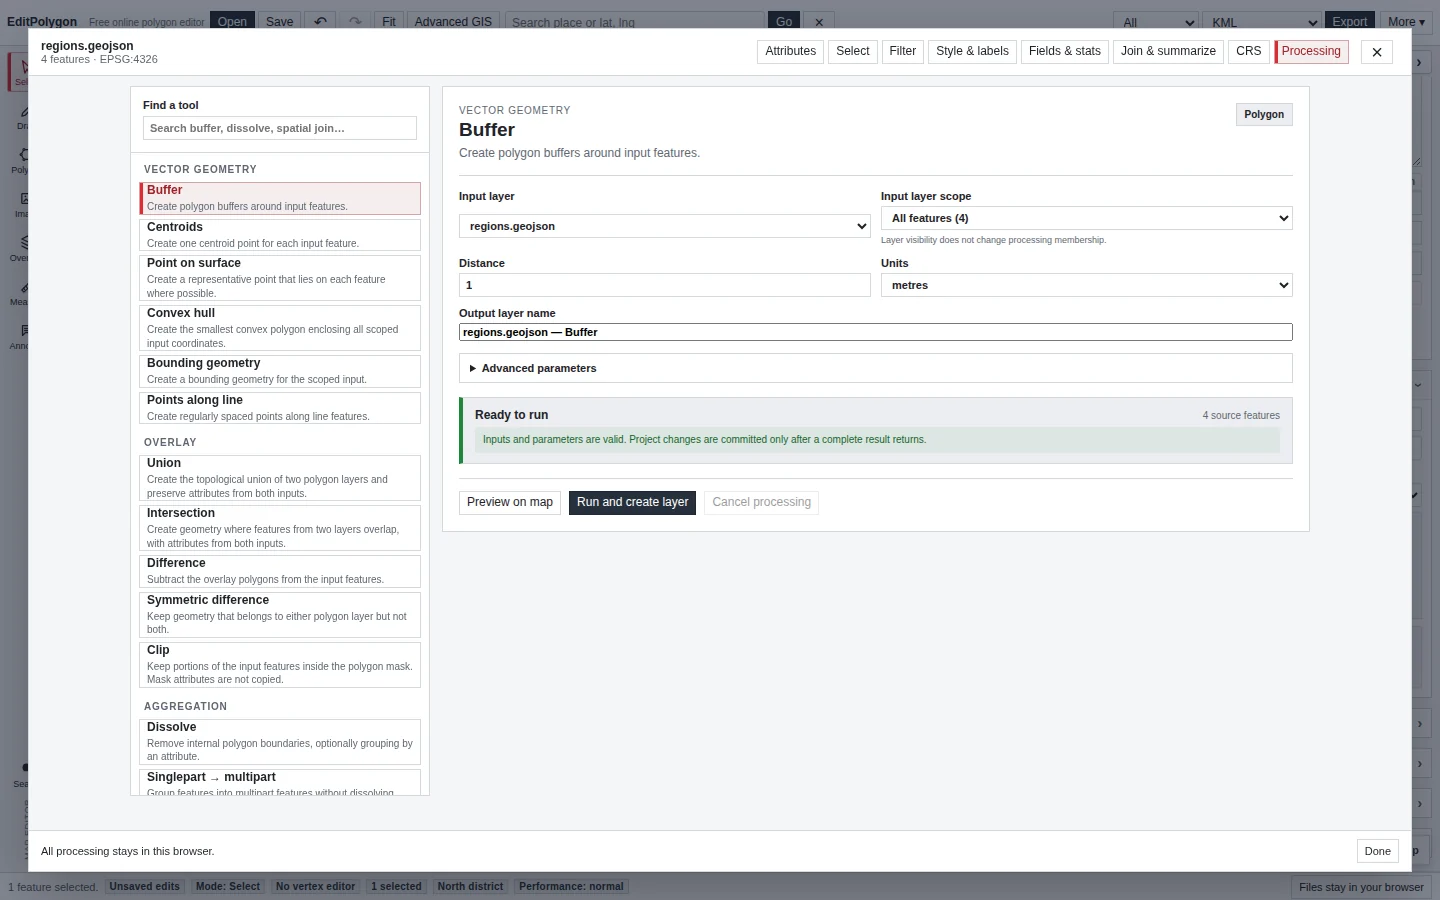
See the complete Processing Toolbox guide and generated tool reference.
7. Check geometry after consequential changes
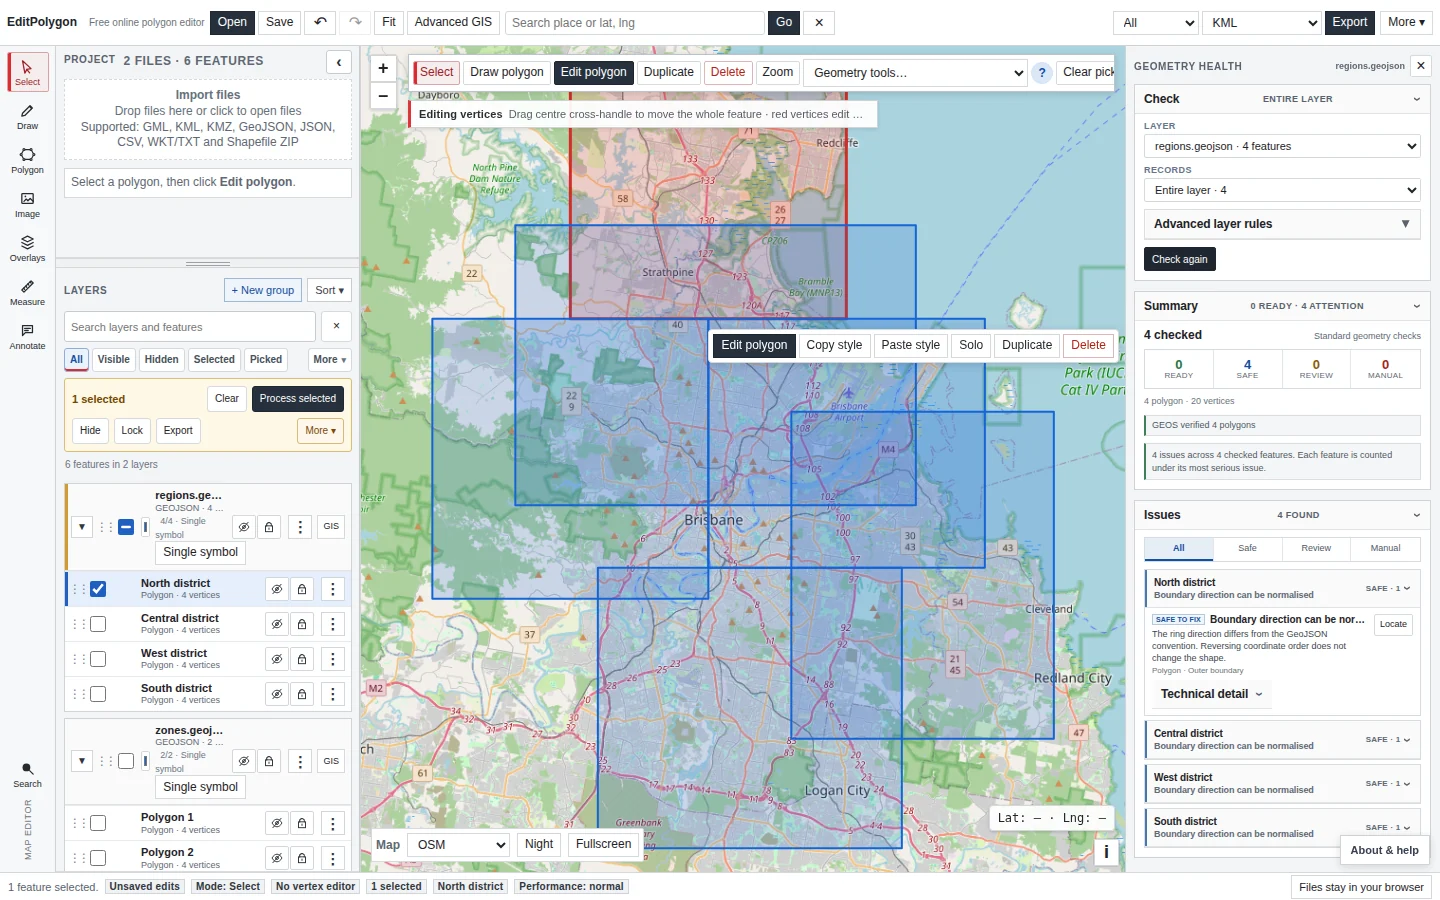
Choose Check & fix geometry from More or open Geometry Health through the GIS controls. Geometry Health separates results into Ready, Safe to fix, Needs review and Manual review. Safe cleanup can be applied conservatively; shape-changing repairs require review.
Validation answers whether geometry satisfies structural/topological rules. It does not determine whether the boundary is factually correct, so compare important repairs with the source and intended real-world meaning.
The main Export dialog starts in Geometry only mode. Choose Preserve compatible data when you need selected attributes, names, original IDs, safe descriptions or supported styling. Only metadata the import route actually retained is offered. See Export data and save projects for the selector and limitations.
8. Save the project and export the correct result
Save downloads an EditPolygon .epz project. Use it when you want to preserve the richer project state rather than only a GIS interchange file. Browser autosave is recovery support; it is not a substitute for downloading an important project.
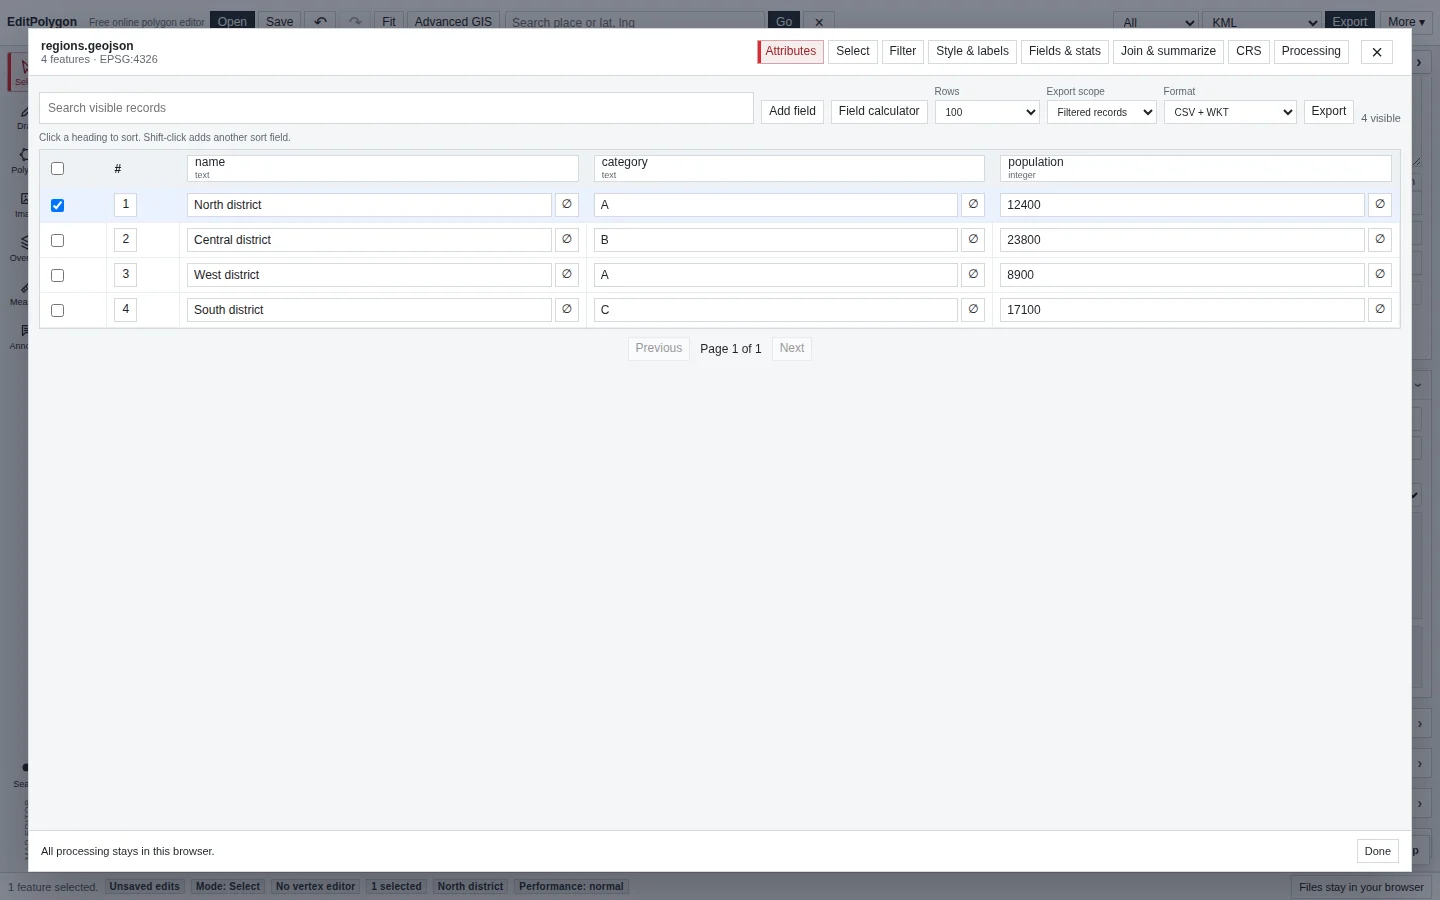
The top toolbar exports geometry using All, Selected or Visible scope. The Attributes table has its own record export, including CSV — attributes only when you need a normal spreadsheet without WKT geometry.
- The source layer appears in the expected real-world location.
- Visibility, filtering and selection are being treated as separate states.
- Direct map editing was used for feature-specific work and Processing for repeatable layer operations.
- Consequential geometry changes were previewed or reviewed.
- Geometry Health was used where validity matters.
- The correct export scope and format were selected.
- An
.epzproject was saved when the work needs to be resumed later.
Common questions
Does EditPolygon upload local GIS files?
No. Local files are processed in the browser. Network requests are made when you deliberately use remote services, tiles or other web sources.
When should I use direct editing instead of Processing?
Use direct editing for a deliberate change to one feature. Use Processing when the same operation should run repeatably over an explicit All, Filtered or Selected scope.